Thursday 27 March 2014

Evaluation

1. In what ways does your product use, develope or challenge forms and conventions of real media products?
2. How does your media product represent particular social groups?


3. What kind of media instituion might disribute your media product and why?


4. Who would be the audience?
5. How would you attract your audience?


 6. What have you learnt about technologies form the process of constructing this product?

7. Looking back at the preliminary task, what do you feel you have learnt in the progression from it to the full product?

Friday 21 March 2014

Adding The Titles

We didn't know how to add titles so we had to teach ourselves by watching a youtube video.

First you have to select what clip you want the text over.
 Then in the bottom left click new item.
 Then click text.
Give the text a name- so for example I called ours Jesse because thats the name of our actor.

You then click the text 't' to type what you want, and simply go back to the mouse arrow if you want to move it.


You can then play around with a few clouds/ styles. 


Friday 14 March 2014

Rough Cut

We now have nearly everything filmed for our final product and its starting to come along very nicely. As part of our evaluation, and for general feedback, we screened it to some of our class mates again, and year 11's.
 

Wednesday 12 March 2014

Michael Buble Song

We wanted to use the song Have Met You Yet by Michael Buble, but because of copy right issues we had to ask for permission, and actually got a reply!

This is the email we wrote as a group asking for permission to the management team.


We then actually got an email back saying it was okay to use it, so we did that and put it into our rough cut for our first screening.


Tuesday 11 March 2014

Split Screen

When making our rough cut, we wondered how it would look like with a split screen, so played around with adobe to see if it would work well in our film.


Making a split screen in Adobe Premiere, we had to get the two clips we want and overlap them on the video timeline.


You then have to open the Effects Control panel and adjust the size of the two clips.


Move the clips by using the 'position' option or double click on the clip and adjust the size and positioning.
After adjusting the size and position of the clips, use the razor tool to make them the same length.


Your timeline should then look like this..
And it should play like this..


However, as a group we decided not to use the split screen because it didn't fit properly in with the opening and therefore just left the clips as they are.

Saturday 8 March 2014

Production Logo

Before showing our rough cut, we decided make a production logo. We did a photo shoot with everyone in our group, except Ewelina wern't there so we had to replace her with someone else. The members of the groups is where we originated the name for the production and distribution company as well.  

Ashleigh
Nicole
Iqra
Ewelina

Weir
Abbas
Lekowsa
Thapa

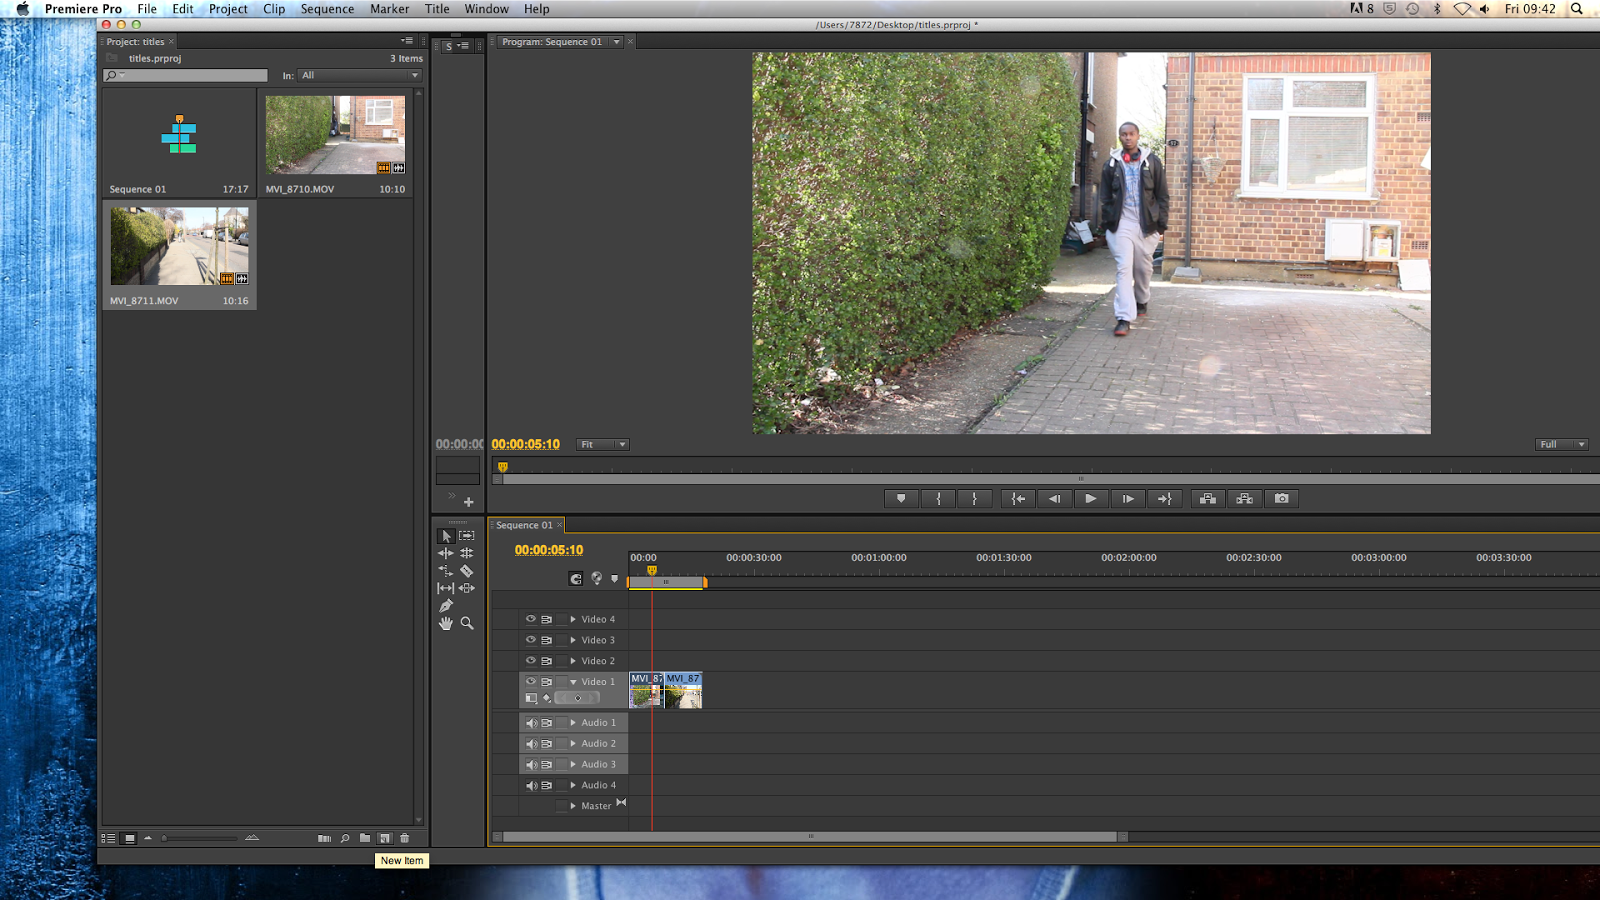
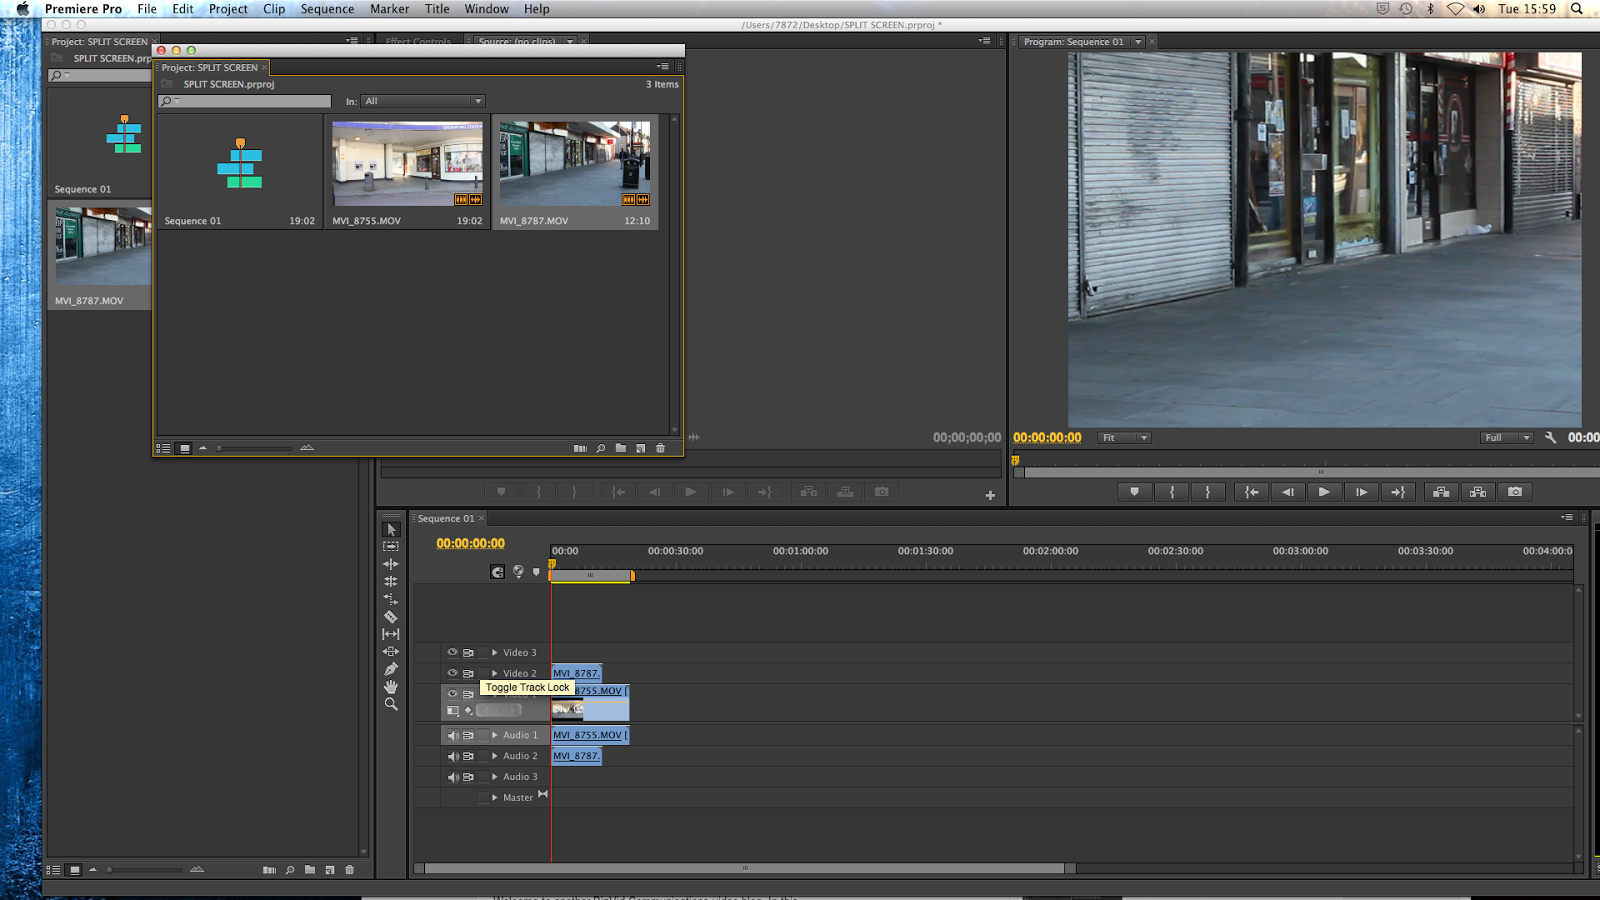
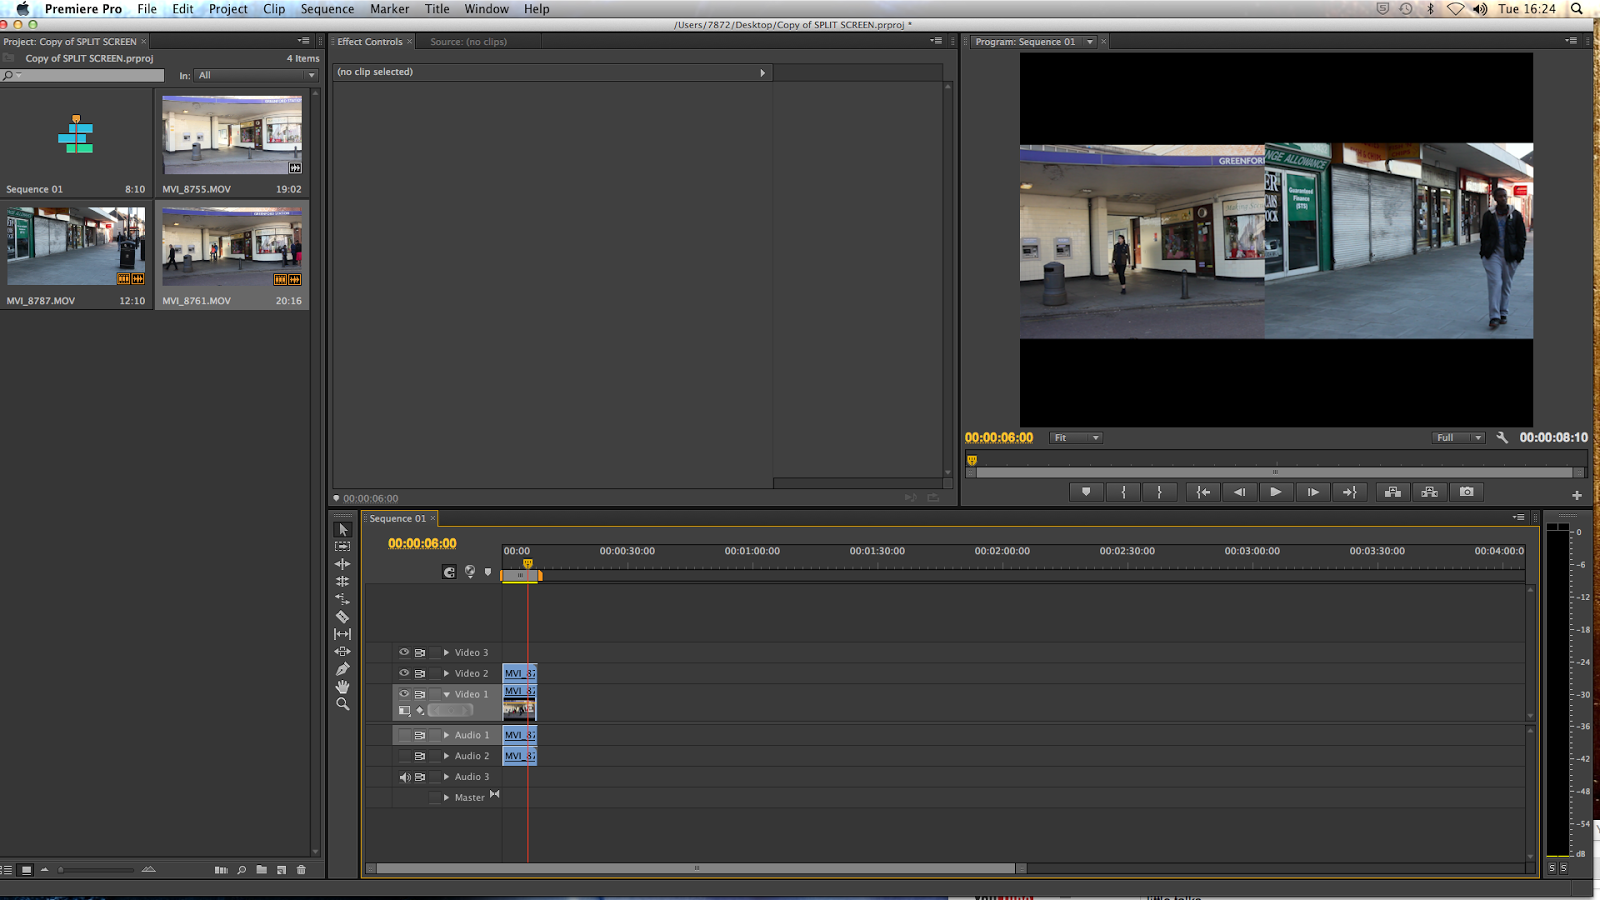
The images below show the entire process of how we went from the M. RAW files of the image and edited them on photoshop and production sequence.

We face the difficulty of actually deciding whether to have a moving picture as our production and distribution sequence. We decided making it a moving picture would add complication of sound and if we were going to consider an instrumental or have any sort of sound and also the fact that achieving a professional silhouette. After much discussion we decided that the still image was best.

For our final sequence we wanted it to be rom-com like with clouds that pop up with bright colours, and this would be for both distribution and production. However, we then realised if we were a actually production company, it would not be applicable to every genre- for example horror. 


Unedited image for the production logo sequence.


Unedited image for the production logo sequence.


In photoshop changing layers and editing- in the right hand bar.


Trial and error with different effects for text.


Two different fonts.


Our first idea.


Friday 7 March 2014

Continuity Problems

After filming some of our scenes, we noticed Jessie had his hair cut! We therefore had to re-film all of his parts. The photos below are examples of Jesses face wash scene.

Before:

After:

 After all of this we also noticed that his clothes had changed, and had to re-flim twice.  


First he was in jeans and a tee, second he was in his track suit bottoms and a tee, however, re-filming another scene we noticed he again had a different top, so had to film him shirtless.